| Farming snails 2: Choosing snails; Care and harvesting; Further improvement հղում աղբյուրինfb34fe.htm |
| The snails |
 |
|
The snails
Choosing your snails
123. All of the snails that you choose for your pen must be of the same kind.

All of the snails that you farm must be the same kind
124. You may have found one of the kinds of snails shown on pages 8 to 11 in the last booklet living in your area. You may also have found a different kind of snail.
125. Now you must learn to choose the beat of the kinds of snails that you have found. When you first begin you will need fully grown snails.
126. Remember, that all snails are both male and female and all snails lay eggs. So, when you are looking for snails, you can choose any one that is fully grown.
127. You can tell that a snail is fully grown because it has a lip on the mouth of its shell. The drawings below show two fully grown snails with lips.

Snails which fill and which does not fill their cells
128. Look at the drawings again. Notice that although both snails are fully grown, one of them fills its shell and one of them does not.
129. The snail that does not fill its shell may be sick or it may have lost its water because of dry weather. This snail may not grow well.
130. Choose only snails that fill their shells. Snails that fill their shells will usually grow well.
131. Choose snails that have good, strong shells. Strong shells protect snails from their enemies, and snails with strong shells sell better at the market.
132. Choose the largest of the fully grown snails that you can find from the kind of snail that you are going to farm.

Choose the largest snails
133. The larger snails of any kind of snail will be better and healthier and lay more eggs than a snail that is smaller.
134. In addition, the eggs of large, healthy snails hatch better and the baby snails grow bigger and faster.
135. Later, when you have more experience in choosing snails, you will learn just how large a fully grown snail should be. You will also learn the different colours of the kind of snail that you are farming.
136. Then you can choose snails that are the same size and colour that you want your baby snails to be.
Note
As you collect your snails, handle them very gently and put them carefully into a container such as a basket so that you can carry them to the pen without hurting them.

Handle your snails carefully
Putting your snails in the pen
137. Just before you put your snails in the pen, take out all the grass, the creeping grass and the weeds that may have grown while the food and shelter plants were growing.
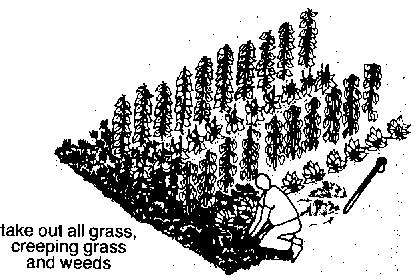
Take out all grass, creeping grass and weeds
138. Never put snails in a pen in the morning or during the day when the sun is hot. Always put them in the evening when it is cool. This is when they begin to move about and to eat.
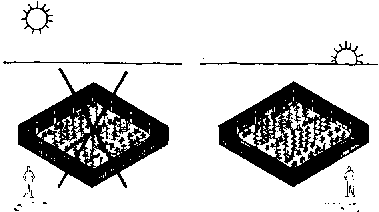
Always put snacks in the pen in the evening
139. If there is no dew and leaves of the plants and the ground are dry, wet them. Items 160 to 165 in this booklet will tell you how.
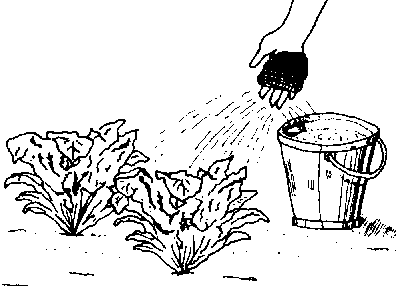
Wet the plants
140. When you put snails in the pen, put an equal number of them in four different places.
141. In the last booklet you were told that for a 5 x 5 metre pen you would need 150 snails if you use the small kind, and 25 snails if you use the large kind. So, if you need
• 150 snails, put 35 to 40 snails in four places
• 25 snails, put 6 snails in three places and 7 snails in one place.
142. The arrows in the drawing at the top of the next page will show you where to put snails in a 5 x 5 metre pen.
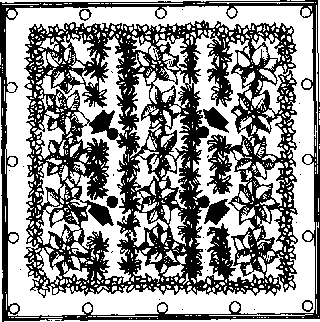
Where to put the snails
Note
When you put snails in a pen, never put them near the fence or in a corner of the fence. If you put them near the fence it is easier for them to get out than it is if you put them near the centre of the pen.
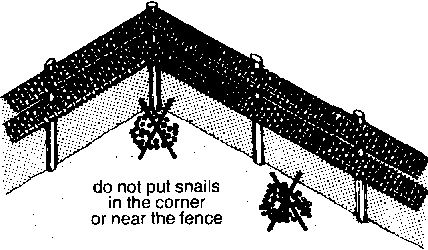
Do not put snails in the corner or near the fence
143. The morning after you have put your snails in the pen, look to see that they have all moved. If any of them have not moved, put them under shelter plants.
144. If any snails die, take them out and put in the same number of new snails.
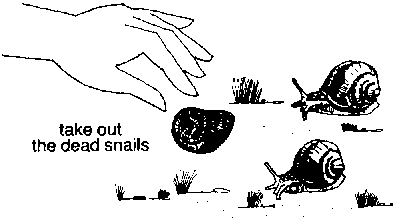
Take out the dead snails
145. At first your snails will try to crawl out of the pen. During this time, go around the pen each morning and put them back.
146. After about two weeks your snails will become used to their new home and most of them will not try to crawl out.
147. However, it is a good idea, even after the first two weeks, to check from time to time and put back any of the snails that may have got out of the pen.
When to take out the fully grown snails
148. When you see a lot of baby snails in your pen, you will no longer need to keep the fully grown snails.
149. So, take out all of the fully grown snails that you first put into your pen. You can either eat them or sell them at the market.
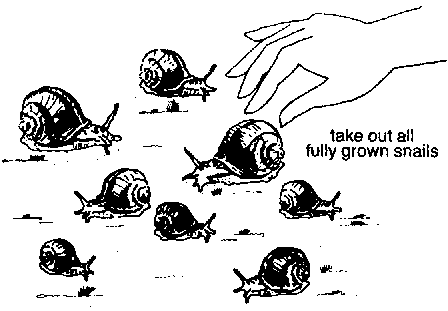
Take out all fully grown snails
150. Now, with only the baby snails left, the food plants in the pen will be more likely to last until the baby snails are big enough to harvest.
151. Later in this booklet, you will be told when the baby snails are big enough to harvest and how to harvest them.